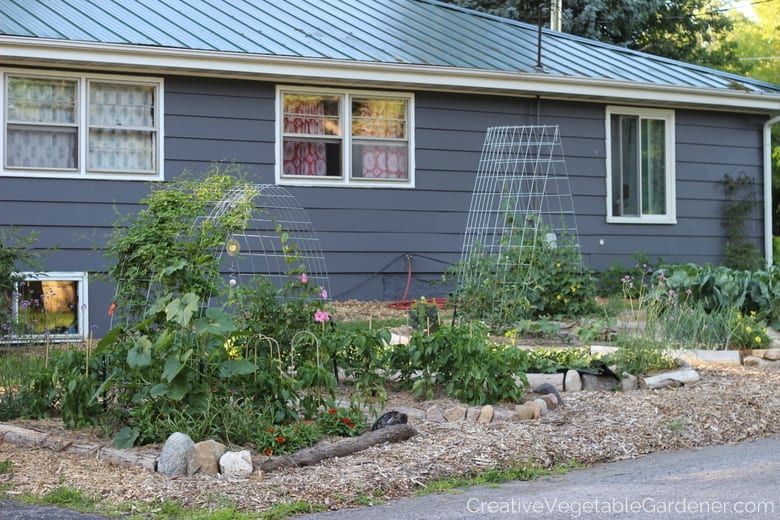
In this blog post, I’ll walk you through the steps of building a simple and eye-catching cattle panel trellis to add height and a little bit of wow-factor to your garden. These trellises are the most commented-upon features in my home garden.
During harvest season in my garden the plants are big and lush, bursting with growth and tumbling every which way.
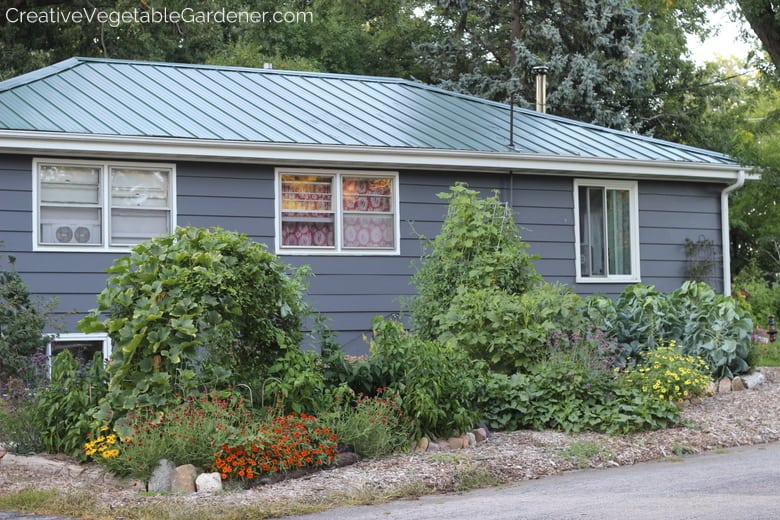
My garden feels a bit like a living, breathing beast that’s going to take over my entire yard. It’s a jungle out there, and I wouldn’t want it any other way. There’s a special kind of magic that can be found in the chaos.
“If you begin to imagine growing food as an art form, where you move beyond the supply and demand of feeding yourself and others and into the realm of aesthetics, then you begin to cultivate beauty as well. And beauty is a fundamental human need, as essential as breath.”
When the summer garden hits its peak I focus on soaking in the aesthetic beauty of my garden and embrace the extra joy it brings to my life. Every year I’m re-convinced that having a gorgeous vegetable garden is just as important as having a productive one.
Which brings me to the subject of vegetable trellises! Each season I try to pay close attention to which parts of my garden I feel drawn to visually, so I can make mental notes about especially striking flower combinations, stand out vegetable varieties, and anything else that elicits a feeling of happiness in my heart.
One element of my garden that’s consistently been a favorite are the “temporary” DIY vegetable trellis I created on the fly one season to add more visual interest to the garden. I wanted something quick, easy, and inexpensive to start with while I worked out my plans for future structures.
After some scheming and dreaming, I decided to try a cattle panel trellis. I love the height and artistry they’ve added to my garden so much that they become more permanent than temporary!
First, we’ll walk through the various options for garden arch trellises, then I’ll show you step by step how you can create one for your own garden, and then we’ll end by exploring the specific flowers and vegetables that thrive on trellises.
If I asked you for a list of your favorite vegetables to eat, beets probably wouldn’t make an appearance in the top five.
It’s not the most popular vegetable in the garden patch.
And with good reason – most people grew up eating slimy and bitter grocery store canned beets. Blech!
(If you were one of the lucky ones, like many of my neighbors in Wisconsin, maybe you were treated to your grandma’s canned pickled beets instead. Those were probably a little more tasty.)
I have to admit, a beet never graced my lips until I became a gardener 20 years ago. I probably didn’t even know what a beet was until I was in my 20’s.
I think my mom was scarred by the aforementioned canned beets growing up, so we never saw one on our dinner table.
But, we gardeners know a secret that many other people don’t – every vegetable that comes out of our gardens is more delicious than what we can buy at the grocery store.
Growing and eating your own beets is just like growing and eating your own tomatoes, they’re a completely different vegetable when they come out of your own backyard.
When you think of eating beets, what do you imagine? If you thought of dark nights, warm ovens, and cozy winter dishes you’re not alone! Fall and winter are favorite seasons for eating beets.
That’s why they’re the perfect vegetable to grow in your fall garden. If you take the time to plant a few rows of fall beets this summer, you’ll be rewarded with the harvest through late fall and into early winter.
And if you store them right, you can eat them all winter long. Last year I was still eating my summer planted beets the following May.
That’s a pretty good bang for your buck, I’d say! Here’s how to plant and grow fall beets.
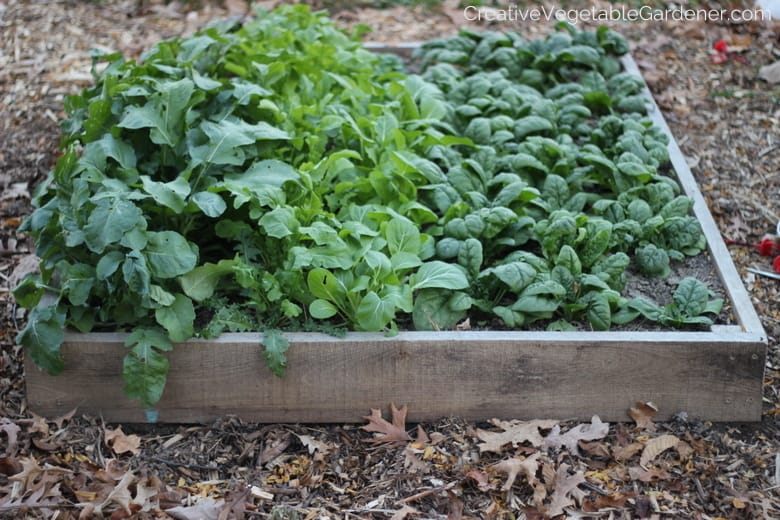
A fall garden bed in October, lots of greens ready to be harvested!
Ok, my fellow northern climate gardeners, brace yourselves, I have an announcement…
Winter is coming!
I know it’s hard to wrap your head around that fact right now. It’s hot and sunny outside and you can cut the air with a knife. My sister sent me a text the other weekend sharing how she was watching a movie with a big snowstorm scene and was actually feeling envious.
We’re in the thick of it right now…summer.
But, this week I was doing some garden planning and I counted out how many weeks we are from our first frost in Madison – 10. And I’ve noticed that I’ve been coming in from the garden each evening a touch earlier. The days of working outside until 9pm are over in my yard. (The weather woman on the radio said we’re losing 2.5 minutes of light a day. Ack!!)
We’re definitely on the downward slope heading towards our first frosts. But, the good news is that your garden season doesn’t have to end with that first dip in temperature. If you take the time to plant a fall garden now you could be harvesting from your garden until Thanksgiving and possibly even until Christmas.
Like most gardeners, you probably like looking at photos of other peoples’ gardens. Oftentimes, those photos are on the Internet or in a glossy gardening magazine. They’re fun to look at, but they don’t always seem attainable for your own garden. I’m in the same boat. I’ve been on several garden tours during the last three weekends and saw some staggeringly beautiful gardens. I often pick up great ideas for my own yard, but sometimes I leave thinking, “My garden will never look that good.”
I love sharing photos of my garden on this website, (and I’ve even been featured in magazines), but those photos don’t tell the whole story. I tend to post photos of the prettiest parts of my garden. I don’t usually spend a lot of time taking photos of the wild and woolly parts of my yard, because frankly, they’re not very interesting or photo worthy. And just looking at them stresses me out!
But, after being on those garden tours I thought it might be useful for me to share what goes on behind the scenes in in my garden. To show you the parts of my yard that don’t see the camera lens very often. I don’t want you to think that my garden, or yard, is perfect. It’s far from it. (I wouldn’t let a magazine photographer anywhere near my backyard!)
One evening this week I walked around my yard and took photos of all of the nooks and crannies, or what I like to call “the ugly stuff”. Here it is in all its glory…
July is the month of garden tours! Are you going on any this month in your town? Visiting other gardens is a great way to find interesting plants, be inspired to add new artistic touches, and see how other people take a space and make it their own through garden design. Every garden is as unique as the person who tends it.
Almost every town and city has some kind of garden tour put on by a local garden club, botanical garden or other group. Why do most tours happen in July in northern climates? Because most perennial gardens tend to be at their most showy during July. So grab a gardening buddy and check some out in your local area.
As for the vegetable garden, it tends to start ramping up in July with lots of lush green growth. I’ve noticed myself thinking these last few weeks every time I walk out of my front door, “My garden is looking really good right now!”, so we must be entering the peak season. And it’s just going to keep getting better and better in the coming weeks! August is when the vegetable garden is at it’s most beautiful.
I’d love to invite you all over to my house for a personal tour, but there’s thousands of you! (And that’s something I reserve for members of the Flavorful Life Garden Club. Local members will be having a potluck and tour at my house and then we’ll visit three other members’ gardens later this month.) Instead, come on in for a virtual tour and I’ll walk you through what’s happening in my garden in this wonderful month of July.
This blog post was a guest feature on a fellow garden blogger’s site, Stephanie from Garden Therapy. We met as fellow nominees in the Better Homes and Gardens Blogger Awards this year. Her site is filled with simple and fun DIY garden projects and crafts, and she has an awesome book, Garden Made. Go check out her site!
The time has come to put your vegetable garden at the front and center of your home landscape. For too long gardeners have tucked their gardens in the back corner of their yards and let their flower gardens grab all of the attention.
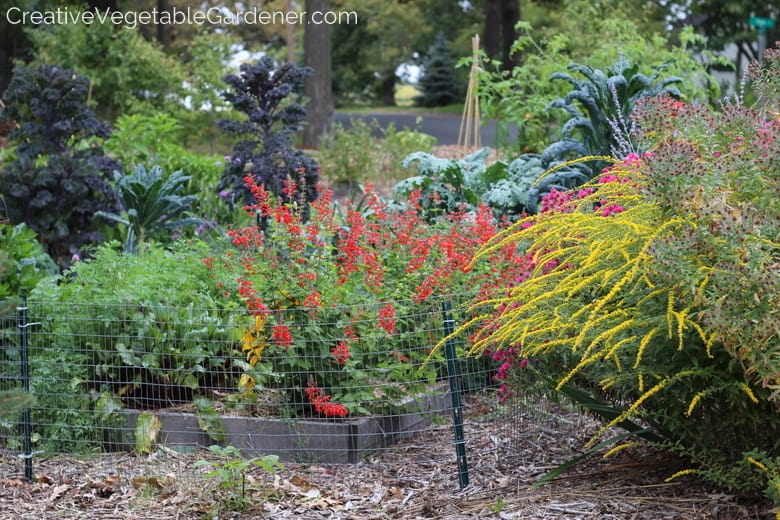
It doesn’t have to be this way! Together we can elevate the humble vegetable garden from a strictly utilitarian garden to one of great beauty. You can have a highly decorative vegetable garden that both produces a lot of food for your family and is an attractive part of your landscape.
At my house, my vegetable garden sits in my front yard, proudly announcing to the world that a gardening addict lives at this address. I’ve also created a number of perennial flower gardens around my yard. Recently, it dawned on me that I could draw upon perennial garden design to also improve the visual impact of my vegetable garden. One of the core principles of garden design is mixing in different colors of foliage to contrast with the most dominant color in the garden – green. If you walk through any botanical garden you’ll notice purple, yellow, red, variegated, and blue/gray plants woven throughout the garden.
By contrast, vegetable gardens can seem a little flat because the majority of the plants are green. We can grow different colors of vegetables, but those only offer small pops of color, not the dramatic effect we might be looking for. This is where mixing in various colors of foliage can really help us elevate our gardens to works of art! The choices aren’t as endless as in the perennial garden, but we do have some great options to choose from.
Top Edible Plant Choices with Colorful Foliage
Me with my huge Redbor kale plant in fall.
Purple
My favorite purple vegetable to grow each year is Redbor kale. By the end of summer it grows pretty tall, and if you sprinkle it throughout your garden you’ll find it will lead your eye around the garden. Other purple plants are Scarlet Kale, purple cabbage, Purple Ruffles Basil, Dark Purple Mizuna, purple asparagus, purple millet, and purple mustard greens.
Red
If you flip to the lettuce section of any seed catalog you’ll be astounded by the large array of eye catching varieties. Consider choosing some dark red varieties and mixing them in with your green lettuce. I’ve even seen people create checkerboard patterns with red and green lettuces. Other options for red plants are Ruby Red Chard, Red Shiso, Ruby Red Orach, Bull’s Blood Beet.
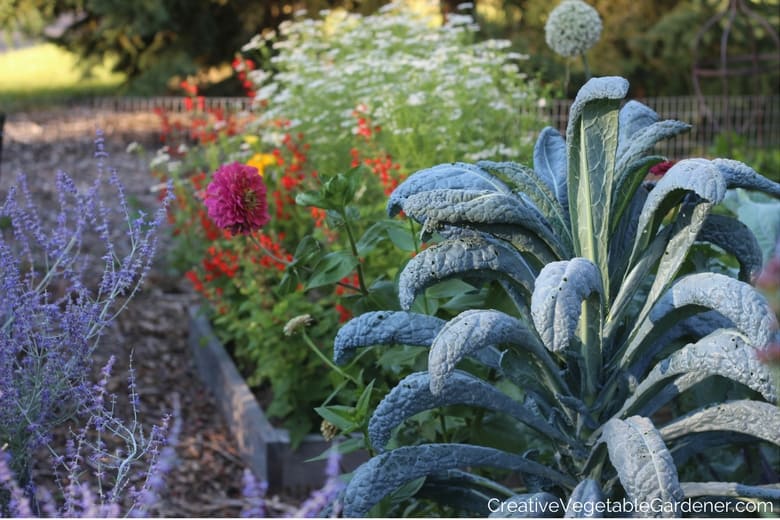
See how lacinato pops in the garden?
Blue/Gray
The steely blue gray of Lacinato kale combined with its upright form provides a striking contrast to most of the vegetable plants in the garden. I’ve seen photos of long rows of Lacinato in European gardens that take your breath away. Another option for a blue/gray plant is your common garden sage.
Yellow and red rainbow chard add some cheery color to your garden.
Yellow
Bright yellows and chartreuses tend to pop out of a landscape when you’re viewing it from afar. Bright Yellow Chard will steal your attention every time you walk into your garden. Other options for yellow plants are Golden Oregano, Ginger Mint, and Golden Pineapple Sage.
Icterina sage is a favorite variegated plant for the herb garden.
Variegated
Here’s my plea to plant breeders – make more variegated vegetable plants! The only one I’ve found is Fish Pepper and it’s such a fun one to grow. You’ll definitely get asked lots of questions about it by visitors to your garden. You’ll have better luck in the herb category with varieties like Icterina and Tricolor Sage, and Silver Edged Thyme and Variegated Lemon Time.
Quick Design Tips
I usually put the most visually striking plants (flowers, interesting vegetables) at the ends of my garden beds. That way they’re more easily seen when I’m walking through my garden.
You can sprinkle the same plant throughout the garden so it leads your eye through the whole scene or you can plant several together for a heavier visual impact.
If you have different colors of the same vegetable (both purple and green cabbage), plant them together in an alternating design to highlight the contrast.
If your vegetable garden has a main path, consider lining it with the same plant, like Lacinato kale, to create an allee effect.
This season, join the beautiful vegetable garden revolution and purposefully seek out plants that are any color but green. Let’s take back the unattractive reputation of vegetable gardens together!
Your first gardening season can be exciting and overwhelming and triumphant and heartbreaking – all at the same time! You may find yourself doing the happy dance when you harvest your first ripe tomato and then the next day crying into your garden gloves confused at why your beans completely failed. As a seasoned gardener I’m going to tell it to you straight up – the ups and downs of gardening are always a part of every season, not matter how long you’ve been at it.
But, after working with hundreds of gardeners over the years I’ve seen the same easily avoidable mistakes being made over and over again. In an effort to help you skip over these beginner mistake (and move straight to the advanced ones), here are the top five mistakes I see new gardeners making time and again.
It’s common to think you have to wait until the peak of the harvest season (August-October) to start preserving food for the winter.
But, if you wait until this late in the year in northern climates you may miss out on several fruits and vegetables that only come around for a few weeks in the early summer. They have a short window and then they’re gone until the next year.
At my house, by the time June arrives, we’re down to the last dregs of our chest freezer. This is usually around the time when I unplug it and clean it out.
Completing this chore signals the end of the previous year of food preserving and the beginning of the new season!
There’s something so satisfying about staring into a newly cleaned and emptied chest freezer knowing that I’ll spend the next few months filling it up with fresh produce we’ll eat all winter long.
Gardening always has a way of bringing you full circle!
The following three vegetables and fruits are the first things I start putting away for the upcoming winter in Wisconsin.
They’re all super easy to preserve and you’ll be able to incorporate them into meals throughout the rest of the year.
We gardeners love our tomatoes! You seldom see a vegetable garden without at least one tomato plant growing.
They’re really remarkable if you think about it. You plant a small seedling in spring, and then by the end of the summer, the plant is a huge monster producing more tomatoes than you can possibly eat.
That’s some amazing growth in a few short months!
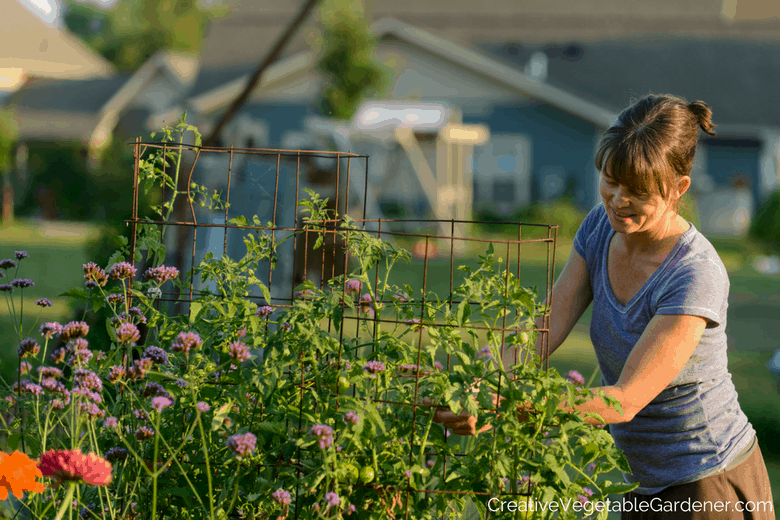
And that rapid growth and towering size of the plants mean they require trellising or caging to help them stand upright and not fall over and sprawl out on the ground.
There are many reasons to make sure your tomatoes are supported throughout the season:
Caging or trellising your tomato plants is also essential for their health and productivity. Many tomato diseases originate from the soil, so you want to make sure your plants aren’t laying down on your garden bed.
Tomato plants also prefer to remain on the drier side, and a cage will help keep the air flowing around the plant so it dries out after watering and rainstorms.
It’s way easier to harvest tomatoes from a plant that’s standing upright. Who wants to crawl around on the ground looking for ripe tomatoes every day?
And, critters like chipmunks and rabbits will be less likely to chew on your ripened fruit if it’s higher off the ground.
There are really no downsides to trellising your tomatoes!
The only challenge is finding an effective tomato cage that will help your tomatoes thrive all season long. Unfortunately, it’s more common to encounter sub-standard tomato cages. They’re everywhere.
In this article I’m sharing which cages to avoid, my favorite DIY tomato cage design, and some options for purchasing cages if you’d rather take that route.
As gardeners, we love to huddle up (virtually and in person) to swap tricks, tips, favorite plant varieties and yes…even our mistakes. No matter how many years we’ve been gardening each season there are total failures, pledges of doing better next year, and times when we ask ourselves, “Why did I do that? I should know better.”
One of my favorite quotes about mistakes comes from the book, The Vegetable Gardener’s Guide to Permaculture – “In the garden there are no mistakes, just lessons pointing you towards better solutions.”
It’s in the spirit of this quote that I invited 38 top garden bloggers to gather together to reflect upon and share their garden bloopers by answering this question:
What’s the biggest mistake you made when you started gardening?
With enough distance, if we’re lucky, life allows us to laugh at our blunders and missteps. You’ll find a lot of humor in the following reflections, and you might even discover a glimpse of yourself!
~ Shawna is a wellness lifestyle advocate, professional author, blogger, photographer, and media host who campaigns for social good. She has a “make a difference” focus on green lifestyle living, organic gardening, and healthy food recipes built to inspire.
The biggest and most horrifying mistake I have made in my garden happened when I first started gardening. My roses were covered with aphids and a friend of mine told me about a “systemic pesticide”, which can be a bug killer and fertilizer combined.
I used it and it worked so well that I put the systemic on every single plant in my garden. Systemic pesticides are taken up “inside” the plant by working through the root system and poisons the insects when they come to feed.
While it sounds like a principal that should be effective, the problem happened when I went to my butterfly loving plants and discovered no butterflies.
If you live in a northern climate like I do in Wisconsin, the time when you can plant all of the vegetables on your list is quickly approaching! In Madison, our last frost is usually somewhere around the middle of May. (Although there was the year I lost my 30+ pepper plants to a Memorial Day Weekend frost. Ouch.)
If you’re planning to head out to your garden this weekend with seedlings and trowel in hand, I thought I’d offer a refresher on how to quickly and easily plant your new vegetable plants.
8 STEPS FOR EXPERTLY PLANTING A SEEDLING
Step 1:Clear a space for planting.
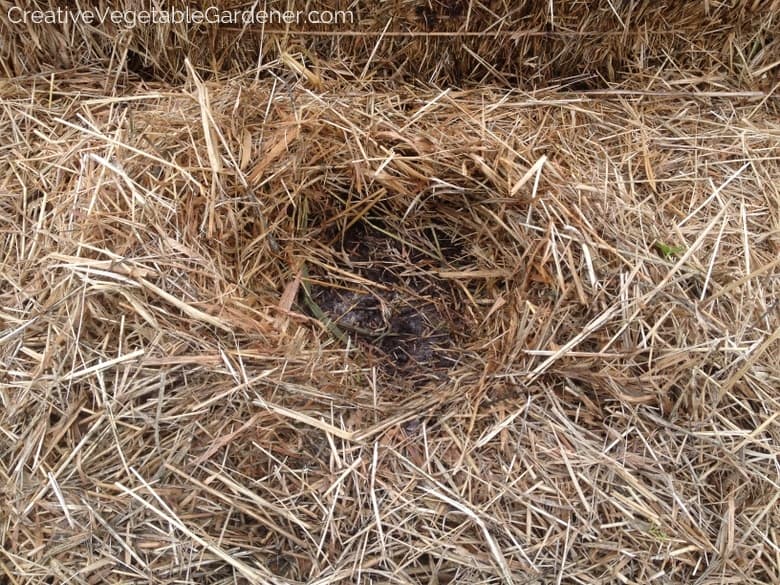
My beds are always covered in hay mulch to keep down weeds. When I’m ready to plant a seedling I simply clear a small area with my hands.
Step 2: Dig a hole with your trowel and pour a bunch of water in to soak the area. During this step I often add a handful of compost or a balanced fertilizer I use in my garden.
Are you planting fruit trees this season? Or, do you have newer fruit trees that you’re caring for now? Growing and caring for fruit trees organically is very different than planting a vegetable garden. It’s a whole different array of knowledge and practices.
We’ve had mixed success with fruit trees in the past at our house. Brown rot, insect damage, poor soil, and trees that died over the winter are just some of the struggles we’ve had over the years. I have much more success in the vegetable garden than I do in the orchard.
So, when members of the Flavorful Life Garden Club, my VIP learning community, expressed interest in learning more about growing fruit, I knew I needed to seek the advice of an expert.
A few weeks ago, I had a wonderful and educational chat with Susan Poizner, founder of Orchard People. She’s an urban orchardist from Toronto, author of the book, Growing Urban Orchards, and the creator of the online resource, OrchardPeople.com. We talked about how to pick the right fruit tree for your yard, how to prepare and build up the soil for young trees, how to care for old fruit trees and much, much more!
I like to add surprise perks to the garden club each season, and an interview with an expert like Susan was a great one! She had so many gems of wisdom that I just had to share it with the rest of my community, too. So, here you go, a special little treat for you on this spring weekend. Listen while you take a walk, mulch your garden, or prep a new garden bed.
Check out her website and blog filled with amazing resources for urban orchardists here.







 Shawna Coronado